

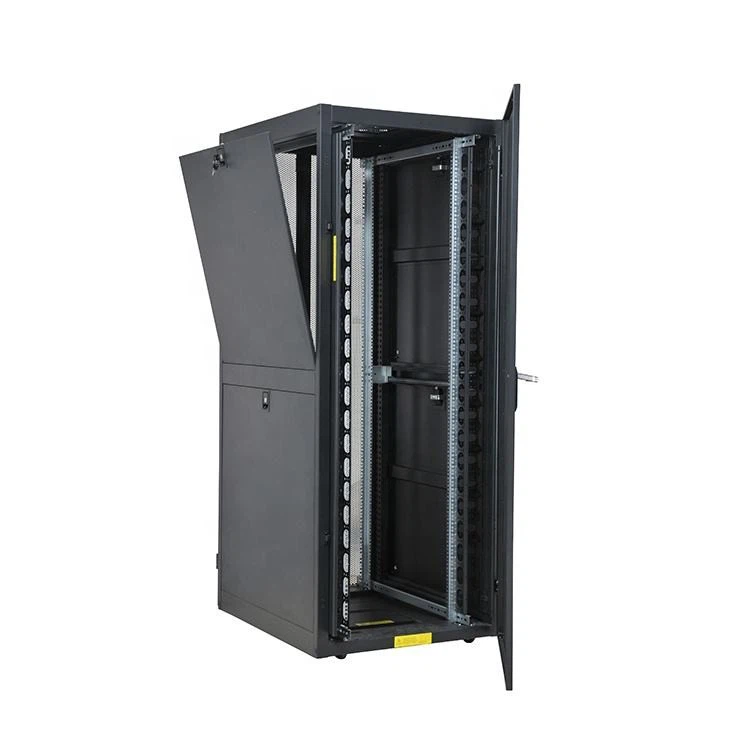
Hey there! I'm a supplier of Network Server Cabinets, and today I'm gonna walk you through the process of installing a network server cabinet. It might seem a bit daunting at first, but with the right steps and a bit of know - how, you'll have your server cabinet up and running in no time.
Step 1: Choose the Right Location
The first thing you need to do is pick the perfect spot for your server cabinet. You want a place that's well - ventilated because servers generate a lot of heat. A room with good air circulation or near an air - conditioning unit is ideal. Also, make sure the floor can support the weight of the cabinet when it's fully loaded. Server cabinets can be pretty heavy, especially when they're filled with servers, networking equipment, and cables.
Another important factor is accessibility. You'll need easy access to the cabinet for maintenance, upgrades, and troubleshooting. So, don't place it in a corner where it's hard to reach or behind other large objects.
Step 2: Prepare the Floor
Once you've chosen the location, it's time to prep the floor. If the floor is uneven, it can cause the cabinet to tilt, which is a big no - no. You can use shims to level the cabinet. Place the shims under the cabinet's feet until it's perfectly level. You can use a spirit level to check if it's flat.
If you're installing the cabinet on a raised floor, make sure the floor tiles are strong enough to support the weight. You might need to reinforce the tiles or use special floor supports designed for server cabinets.
Step 3: Unpack the Cabinet
Now it's time to unpack the cabinet. Carefully remove all the parts from the packaging, and lay them out in an organized way. Check for any damage during shipping. If you find any, contact the supplier right away. Most of our Network Server Cabinets come with detailed assembly instructions, so make sure to read them thoroughly.
Step 4: Assemble the Cabinet
Assembling the cabinet is usually a straightforward process. Start by attaching the side panels, top, and bottom to the frame. Use the bolts and nuts provided in the kit. Make sure to tighten them properly, but don't over - tighten as it can damage the cabinet.
Some cabinets come with pre - drilled holes for mounting equipment. If yours does, take note of the hole pattern and make sure it matches the equipment you'll be installing.
Step 5: Install the Rails
Rails are essential for mounting servers and other equipment inside the cabinet. They allow you to slide the equipment in and out easily for maintenance. Install the rails according to the instructions. Usually, you'll need to attach them to the side panels of the cabinet. Make sure they're level and properly aligned.
Step 6: Mount the Equipment
Now it's time to mount your servers, switches, and other networking equipment. Start by aligning the mounting holes on the equipment with the holes on the rails. Use screws to secure the equipment to the rails. Make sure the equipment is firmly attached and doesn't wobble.
When mounting multiple pieces of equipment, leave enough space between them for proper ventilation. Overcrowding can lead to overheating, which can damage your equipment.
Step 7: Cable Management
Cable management is crucial for a clean and efficient server cabinet. Start by organizing the cables and labeling them. You can use cable ties or cable management trays to keep the cables neat. Make sure to separate power cables from data cables to avoid interference.
Route the cables in a way that doesn't block the airflow inside the cabinet. You can use cable ducts or raceways to keep the cables organized and out of the way.
Step 8: Connect the Power and Network
Once all the equipment is mounted and the cables are organized, it's time to connect the power and network. Plug in the power cords to the appropriate power outlets. Make sure to use surge protectors to protect your equipment from power surges.
Connect the network cables to the switches and servers. Test the network connection to make sure everything is working properly.
Step 9: Test and Monitor
After everything is installed and connected, it's time to test the system. Power on the servers and check if they boot up correctly. Monitor the temperature inside the cabinet to make sure it stays within the recommended range. You can use temperature sensors to keep an eye on the temperature.
If you encounter any issues, such as overheating or network problems, troubleshoot them right away. You might need to adjust the airflow, check the cable connections, or update the equipment's firmware.
Customization Options
If you're looking for something more tailored to your specific needs, we also offer Custom Server Cabinets. These cabinets can be designed to fit your exact requirements, whether it's a specific size, color, or functionality.
Our Server Rack Cabinet Enclosure is another great option. It provides a secure and organized environment for your servers and networking equipment.
Conclusion
Installing a network server cabinet might seem like a complex task, but if you follow these steps, you'll be able to do it successfully. Remember to choose the right location, prepare the floor, assemble the cabinet carefully, mount the equipment properly, manage the cables, and test the system.
If you have any questions or need more information about our Network Server Cabinets, feel free to reach out to us. We're here to help you with all your server cabinet needs and can assist you in finding the perfect solution for your business. Whether you're a small startup or a large enterprise, we've got you covered. Contact us to start a purchase negotiation and take your server infrastructure to the next level.

References
- Industry best practices for server cabinet installation
- Manufacturer's assembly and installation guides for server cabinets