

Installing cooling fans in custom server cabinets is a crucial task that can significantly enhance the performance and longevity of your servers. As a supplier of Custom Server Cabinets, I've had the opportunity to see firsthand the impact of proper cooling on server functionality. In this blog post, I'll share some essential steps and considerations for installing cooling fans in custom server cabinets.
Understanding the Importance of Cooling in Server Cabinets
Servers generate a substantial amount of heat during operation. If this heat is not effectively dissipated, it can lead to overheating, which in turn can cause hardware failures, reduced performance, and even data loss. Cooling fans play a vital role in maintaining a stable temperature within the server cabinet by circulating air and expelling hot air outside.
Assessing Your Cooling Needs
Before you start installing cooling fans, it's essential to assess your specific cooling needs. Several factors can influence the number and type of cooling fans required:
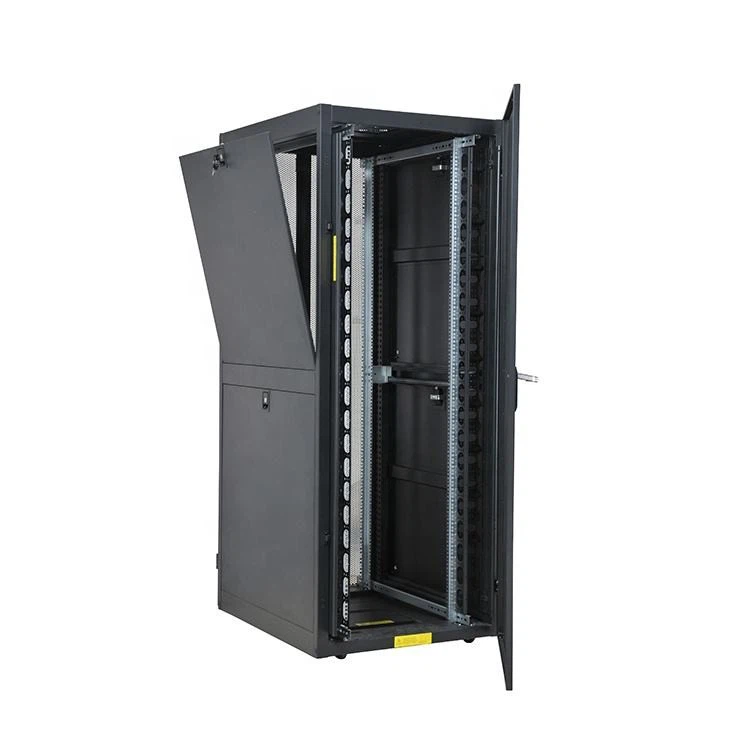

- Server Load: The more servers you have in the cabinet and the higher their processing power, the more heat they will generate. High - load servers, such as those used for data analytics or gaming, will require more robust cooling solutions.
- Cabinet Size: Larger cabinets generally require more cooling fans to ensure adequate air circulation throughout the entire space.
- Environmental Conditions: If the server room is located in a hot or humid environment, additional cooling may be necessary.
Selecting the Right Cooling Fans
Once you've assessed your cooling needs, it's time to select the right cooling fans. Here are some key considerations:
- Fan Size: Cooling fans come in various sizes, typically measured in inches. The size of the fan you choose should be compatible with the available mounting spaces in your server cabinet. Common sizes include 80mm, 120mm, and 140mm.
- Airflow and Static Pressure: Airflow is measured in cubic feet per minute (CFM) and indicates how much air the fan can move. Static pressure, measured in millimeters of water (mmH₂O), is important for fans that need to push air through filters or other obstructions. For server cabinets with multiple components and potential airflow restrictions, fans with high static pressure are often preferred.
- Noise Level: Cooling fans can generate noise, which can be a concern in quiet server environments. Look for fans with a low noise rating, typically measured in decibels (dB).
Installation Steps
Step 1: Prepare the Server Cabinet
- Power Off the Servers: Before you begin any installation work, make sure all servers in the cabinet are powered off to avoid any electrical hazards.
- Empty the Cabinet (if necessary): If possible, remove the servers and other components from the cabinet to make it easier to access the mounting areas for the cooling fans.
Step 2: Identify Mounting Locations
- Front and Rear Mounting: For optimal airflow, it's recommended to install intake fans at the front of the cabinet and exhaust fans at the rear. This creates a natural airflow path from the front to the rear, drawing in cool air and expelling hot air.
- Side Mounting: In some cases, side - mounted fans can also be used to enhance air circulation, especially in larger cabinets.
Step 3: Mount the Cooling Fans
- Use Mounting Brackets: Most cooling fans come with mounting brackets that can be attached to the cabinet using screws. Make sure the fans are securely mounted to prevent vibration and noise.
- Align the Fans: Ensure that the fans are properly aligned to allow for smooth airflow. Misaligned fans can disrupt the airflow pattern and reduce cooling efficiency.
Step 4: Connect the Fans
- Power Supply: Cooling fans typically require a power source. You can connect them to the server cabinet's power distribution unit (PDU) or use a separate fan controller. Make sure to follow the manufacturer's instructions for proper wiring.
- Fan Controller (Optional): A fan controller allows you to adjust the speed of the fans based on the temperature inside the cabinet. This can help optimize energy consumption and reduce noise.
Step 5: Test the Fans
- Power On the Servers: After all the fans are installed and connected, power on the servers and check if the fans are working properly. You can use a temperature monitoring tool to verify that the temperature inside the cabinet is within the acceptable range.
Additional Tips for Optimal Cooling
- Use Cable Management: Proper cable management can significantly improve airflow within the server cabinet. Keep cables organized and away from the fan intake and exhaust areas to prevent blockages.
- Install Air Filters: Air filters can help prevent dust and debris from entering the cabinet and clogging the fans. Make sure to clean or replace the filters regularly.
- Monitor Temperature: Continuously monitor the temperature inside the cabinet using temperature sensors. This will allow you to detect any potential cooling issues early and take appropriate action.
Conclusion
Installing cooling fans in custom server cabinets is a critical step in ensuring the reliable operation of your servers. By understanding your cooling needs, selecting the right fans, and following the proper installation steps, you can create an efficient cooling system that will protect your servers from overheating.
If you're in the market for Network Server Cabinets or Server Rack Cabinet Enclosure, we're here to help. Our custom server cabinets are designed to meet the specific requirements of your servers and can be customized with the right cooling solutions. Contact us today to discuss your needs and start a procurement negotiation.
References
- "Server Cooling Best Practices" - Data Center Knowledge
- "Cooling Fan Selection Guide" - PCMag